Dragon Quest III HD-2D Remake
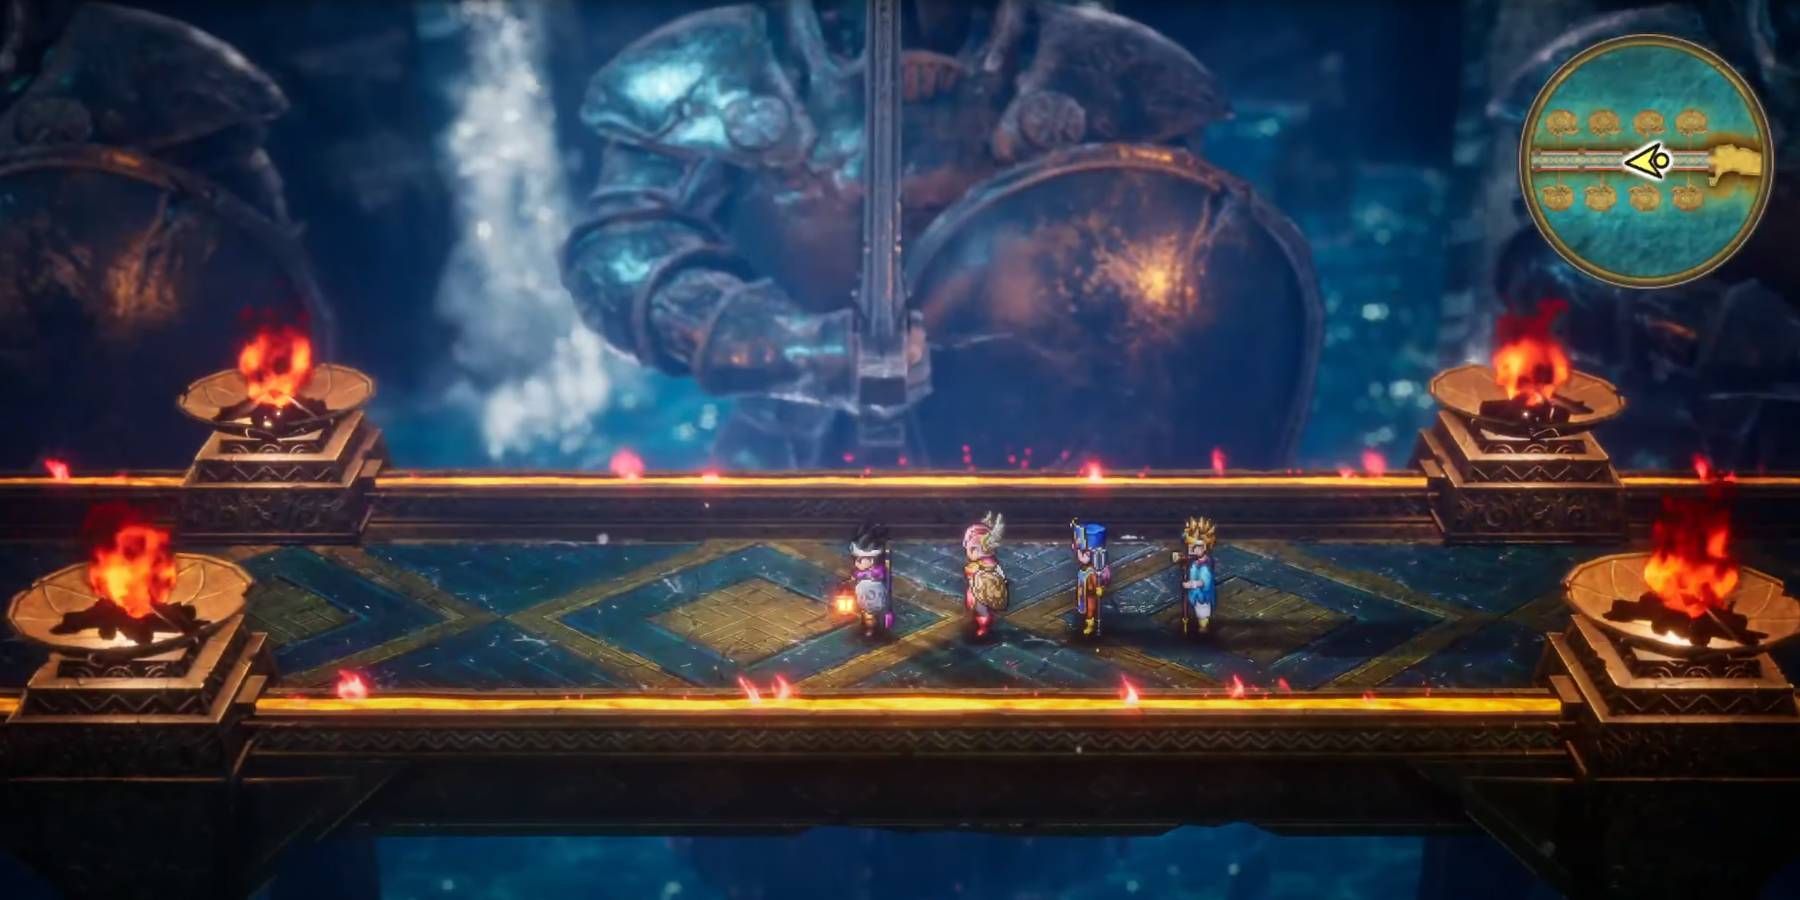
The second - to - last donjon inDragon Quest 3 HD-2D Remakeis the Maw of the Necrogond , a massive cave system where you could detect many different point and secrets . This location is separate into eight layers , making it a complex dungeon to complete . However , as long as you know where to look , you’re able to quickly move through areas and shoot down whatever challenge your party may face .
Since you travel to the Maw of the Necrogond during the late plot , you may have mellow - level political party member you ’ve helped produce over many adventures . While no specific grapheme Vocation is necessary to beat this keep , some are stronger than others . For exemplar , theSage category inDQ3 Remakeis a particularly strong endgame Vocation that excels at defeating foes within the Maw of the Necrogond .
Quick Links
Maw Of The Necrogond Dungeon Location & How To Access
Throw A Powerful Sword Into A Volcano
The Maw of the Necrogond dungeon islocated southwest of Mt. Necrogond , the large volcano that is very prominent on your mathematical function . This vent is the site where you fight The Garboyle , a knotty boss who apply multiple attacks per turn to challenge your party . The Garboyle ’s use of Inferno constitute them a tough opponent , even for warhorse of the originalDragon Quest 3 .
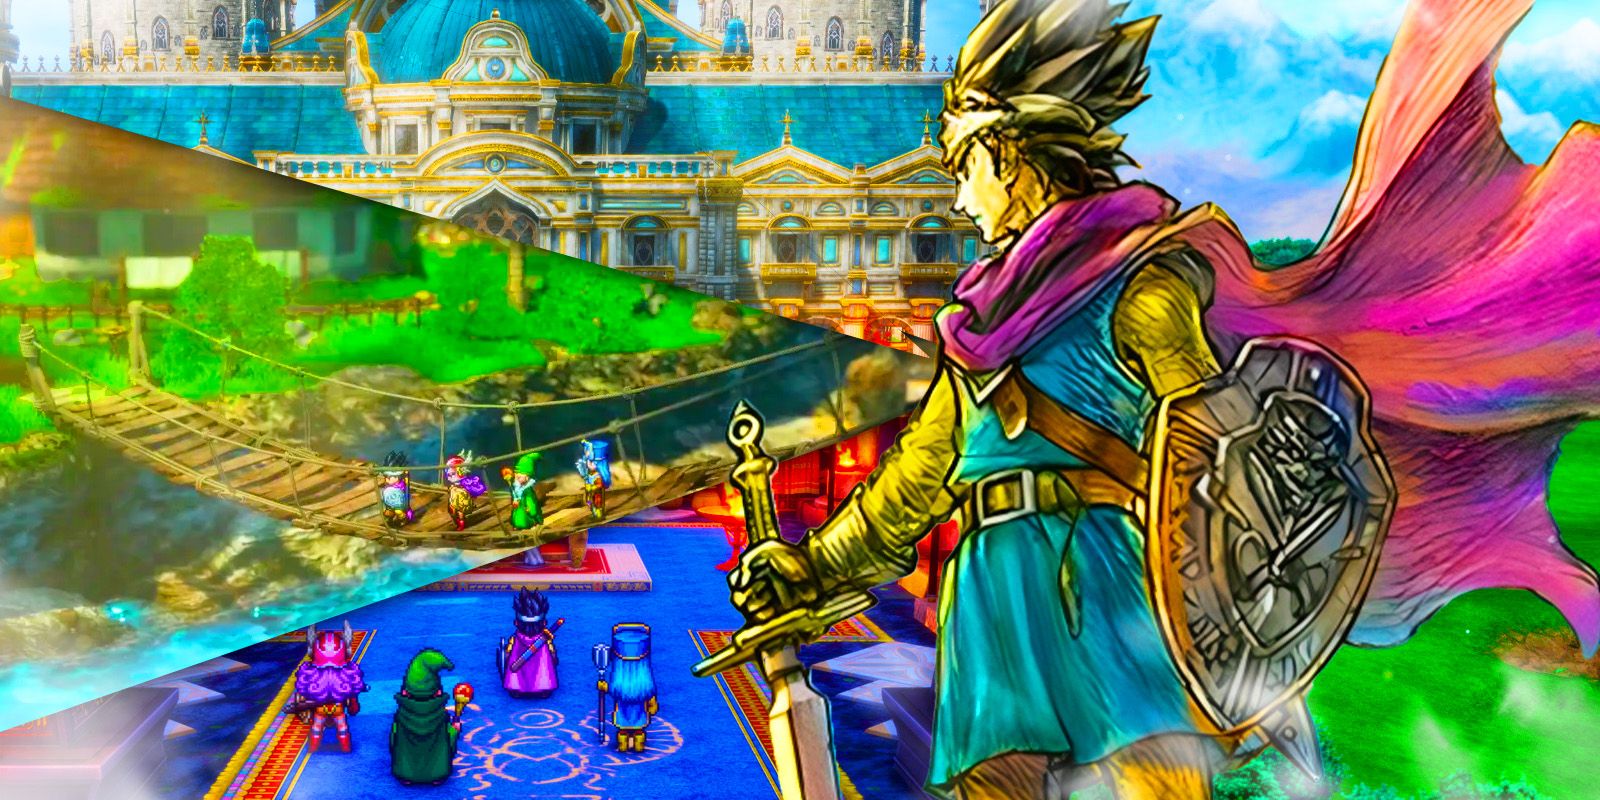
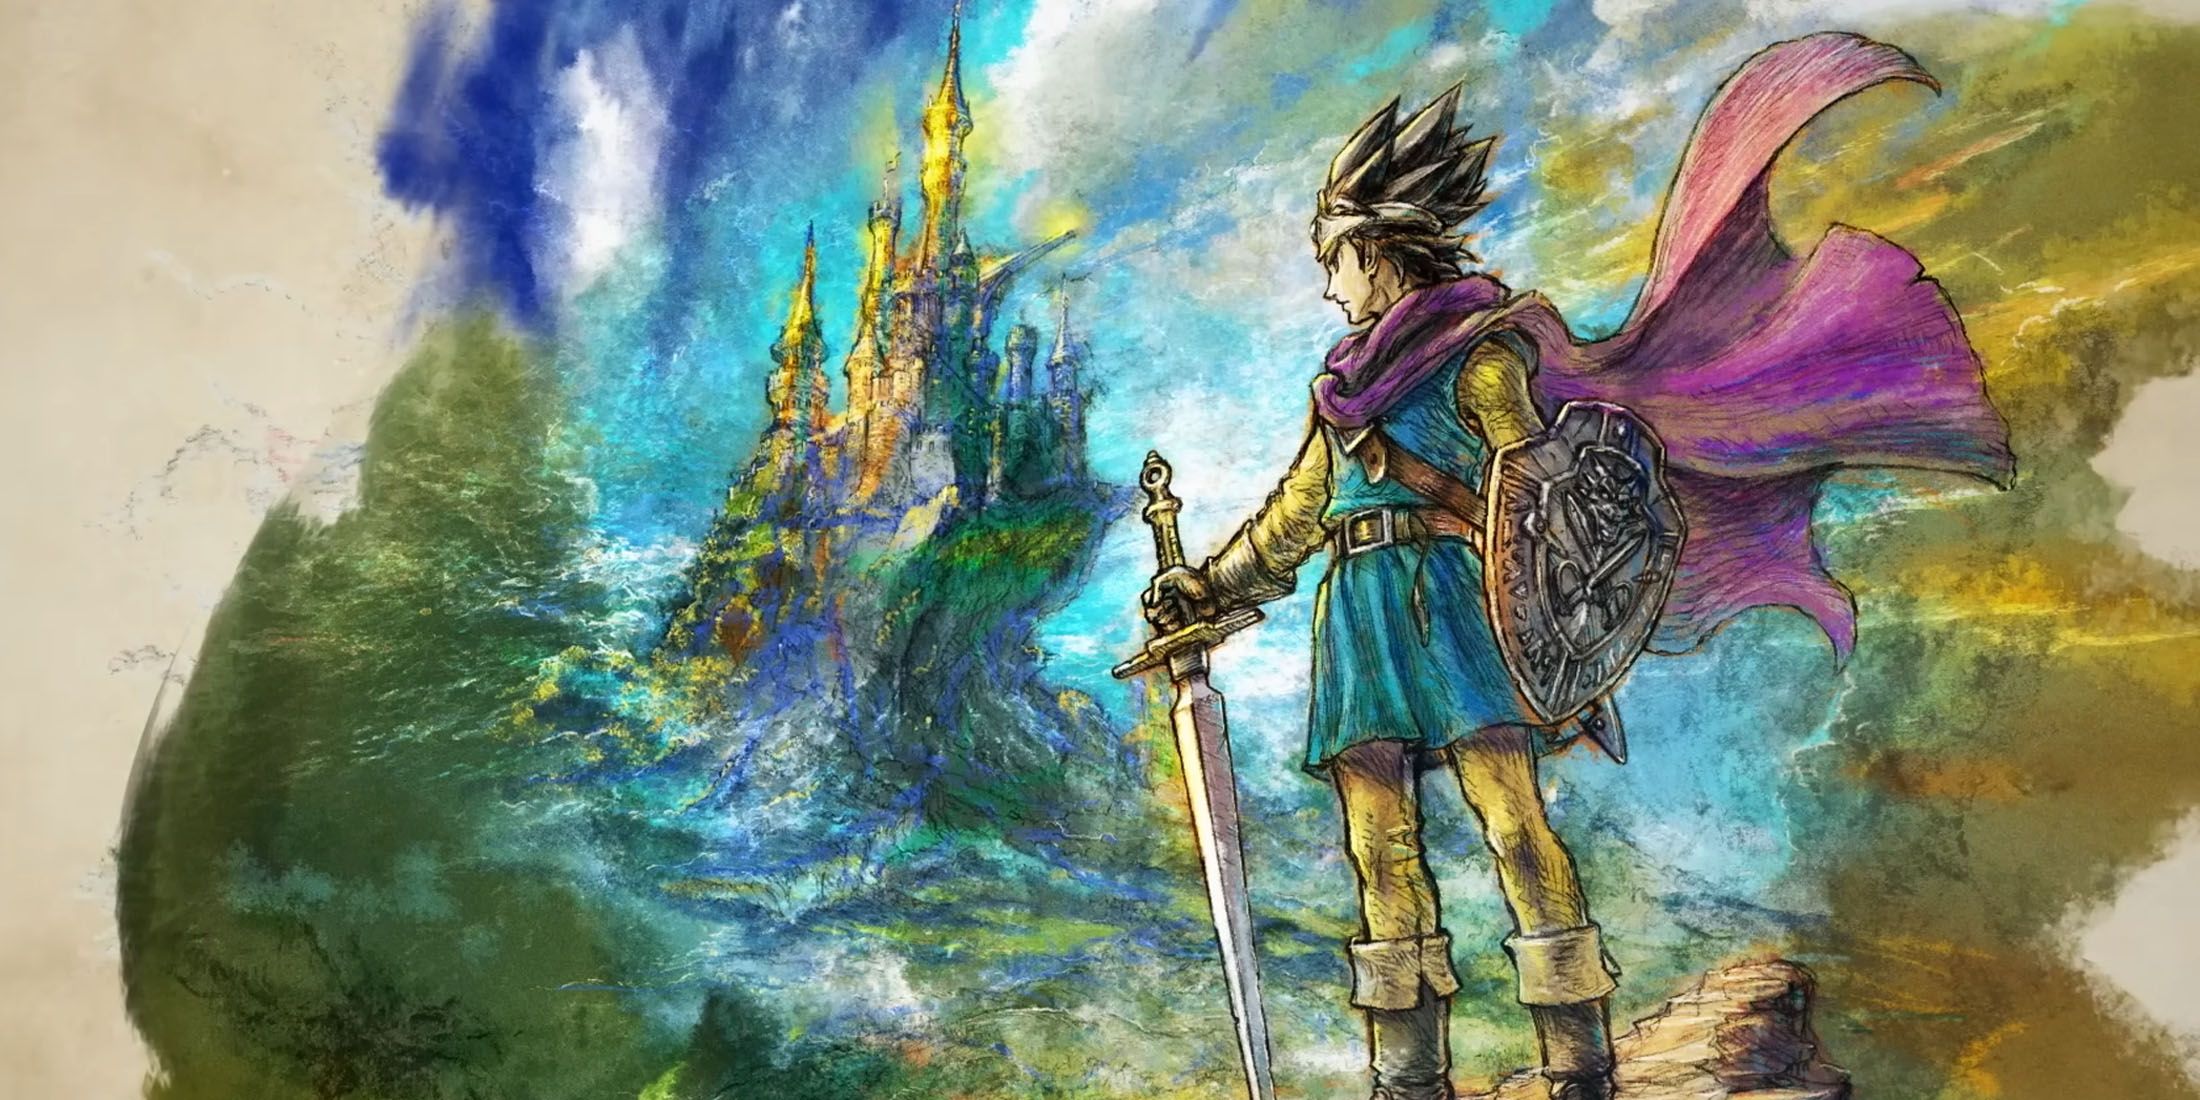
Dragon Quest 3 HD-2D Remake successfully introduces a novel contemporaries to one of the best RPGs of all clock time , along with a legion of betterment .
Once you take down the Garboyle , you canthrow the Mountaincleaver weapon into the volcanoto gun trigger a unique cutscene . The eructation of Mt. Necrogond creates a fiery stream of magma that evaporates body of body of water to the south of the area . This opens up new paths , including the entree to the Maw of the Necrogond donjon .
At this dot , you should endeavor to spare your game and adjust yourparty combination inDQ3 Remaketo group up your skillful character reference before entering the Maw of the Necrogond .
How To Reach The Necrogond Shrine
Complete Your Task By Navigating Through The Dungeon
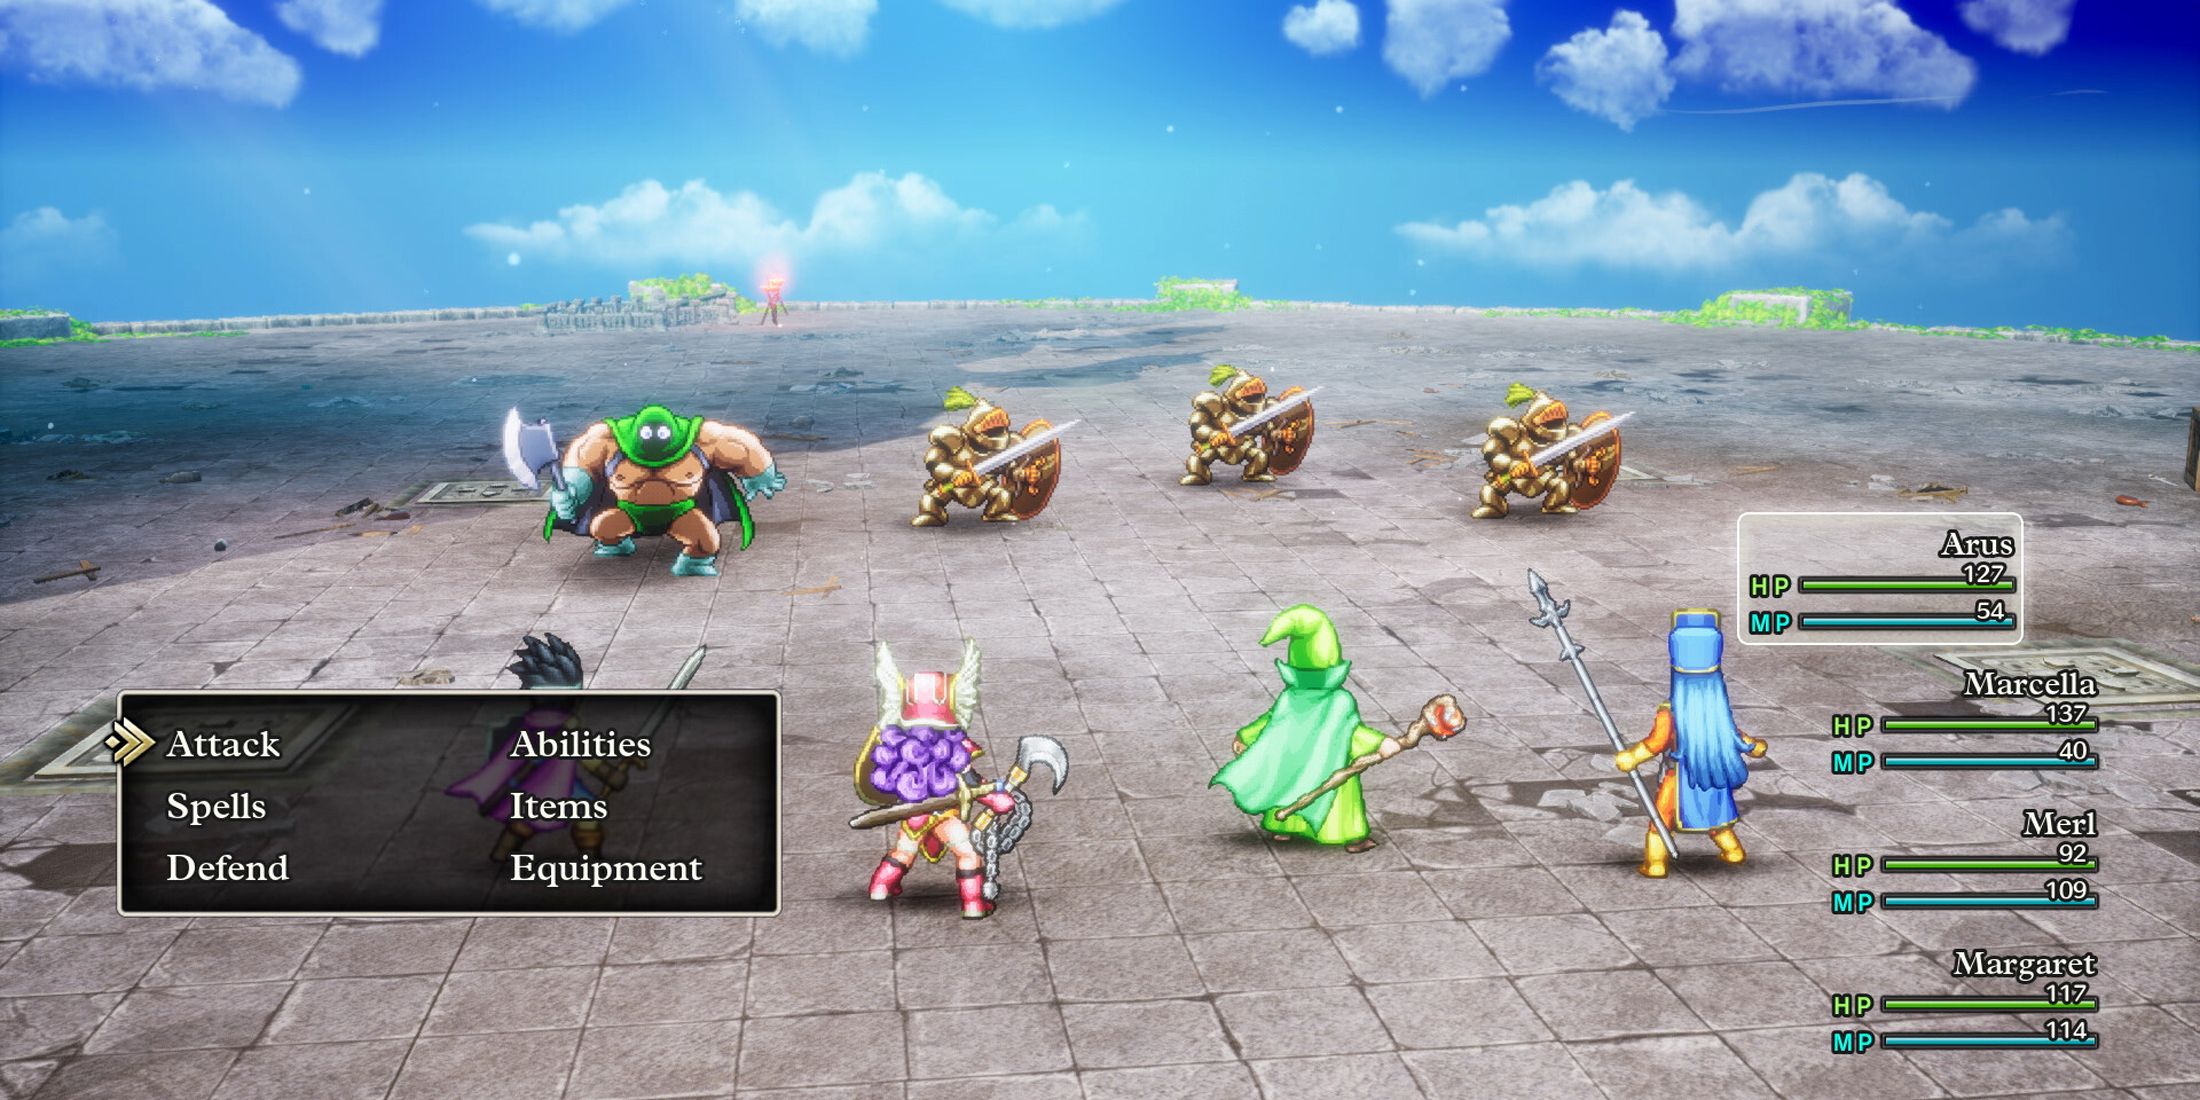
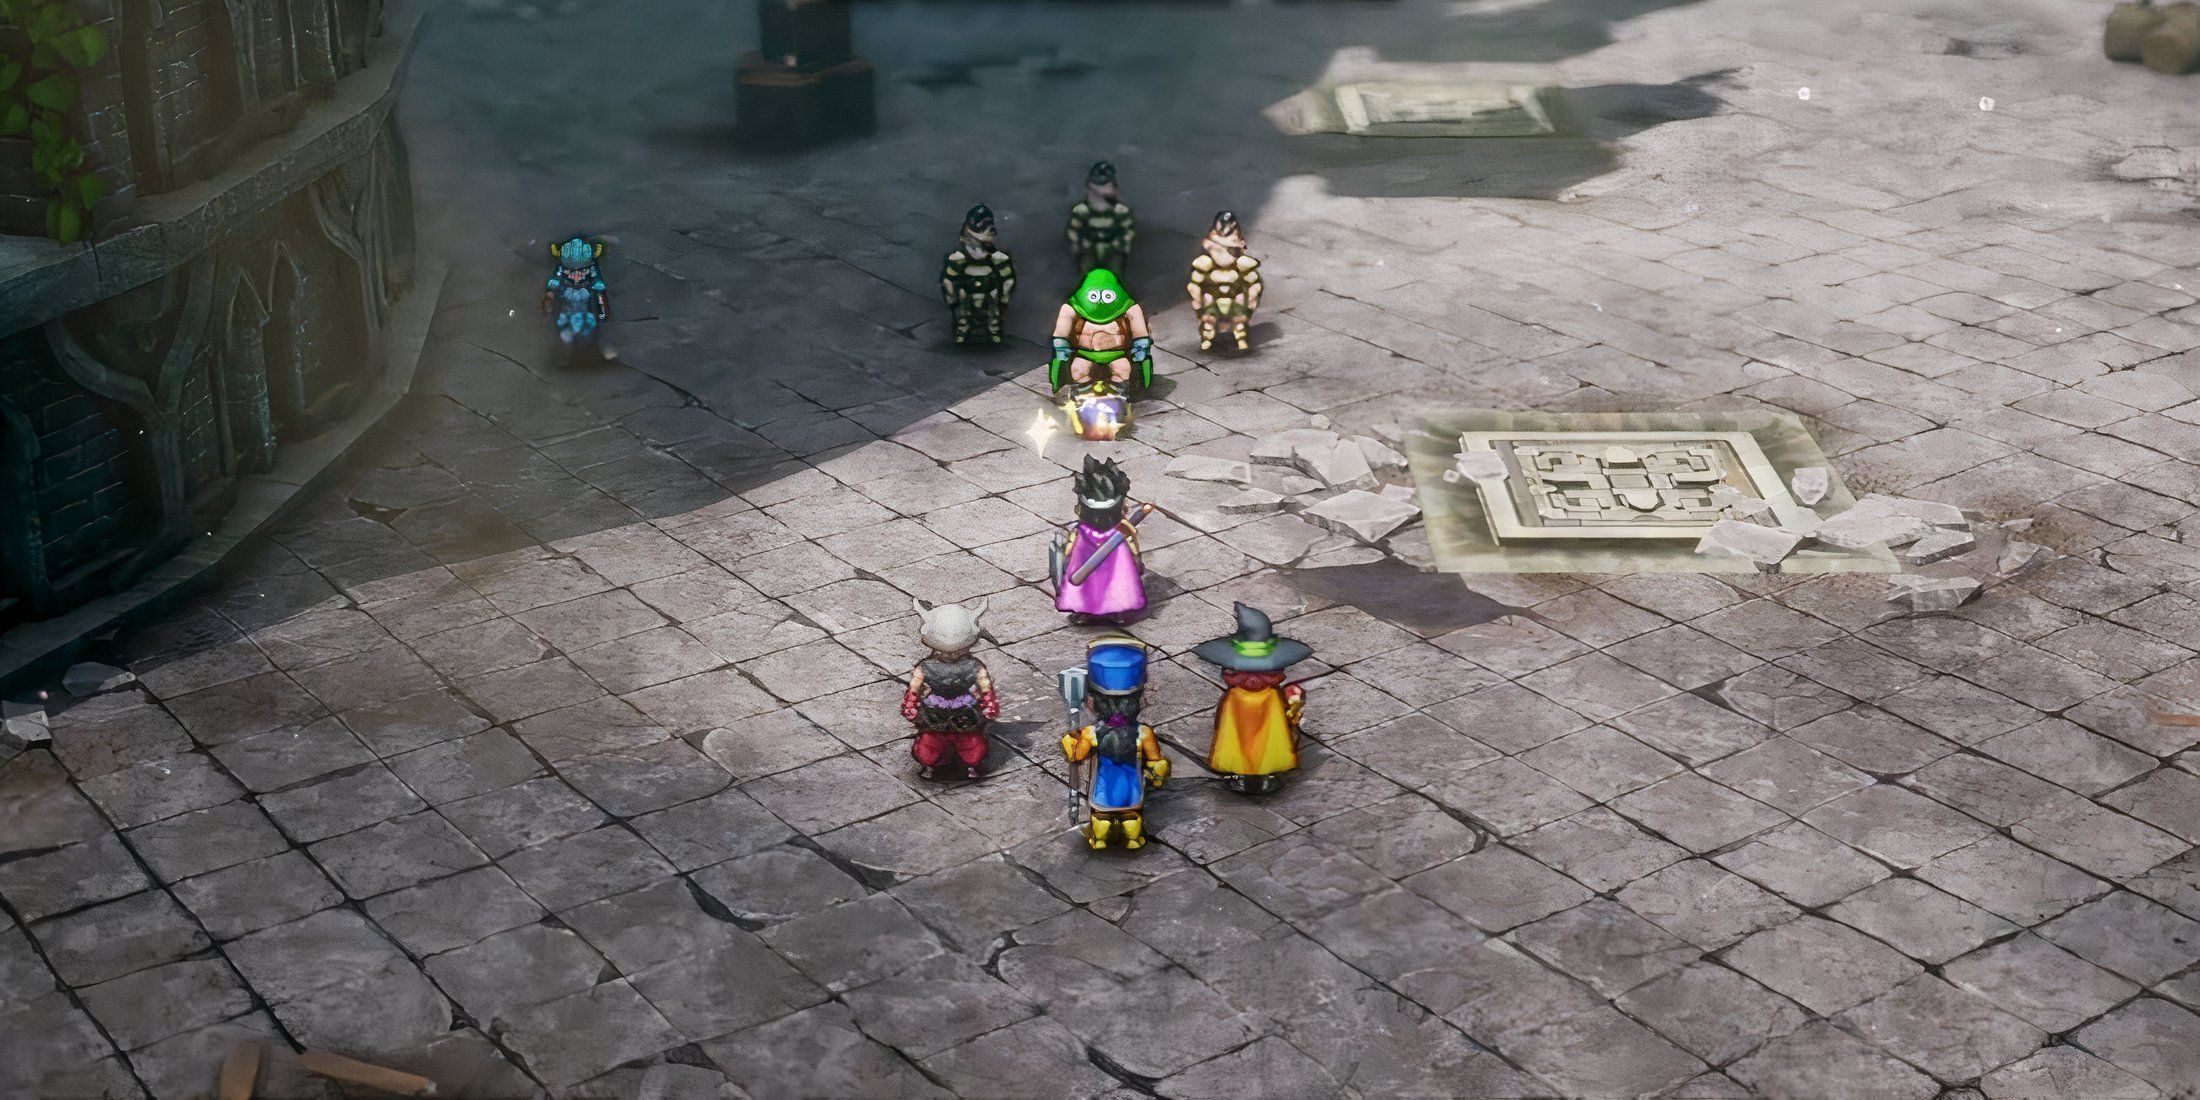
The Necrogond Shrineis place at the end of the Maw of the Necrogond dungeon , which has an astoundingeight floorsfor your political party to navigate . One of the reasons why the Maw of the Necrogond is such a difficult dungeon is that it ’s filled with high - level enemies that attack you in large radical . Without healing spells or items , your grouping can rapidly be overwhelmed by just staying in the keep for too long .
Although the Maw of the Necrogond has no bosses , there areseveral traps you ’ll have to expect out for . One wrong whole step could send your company down from one floor back to one you ’ve already gotten through , increasing the number of encounters you ’ll have to deal with . Although somestrong spells inDQ3 Remakecan make your group inconspicuous to enemies as you research , this only lasts for a short time .
Here are all the unlike floors in the Maw of the Necrogond and the best strategies to get through them fast :

Floor
Fastest Path To Clear
Map Image
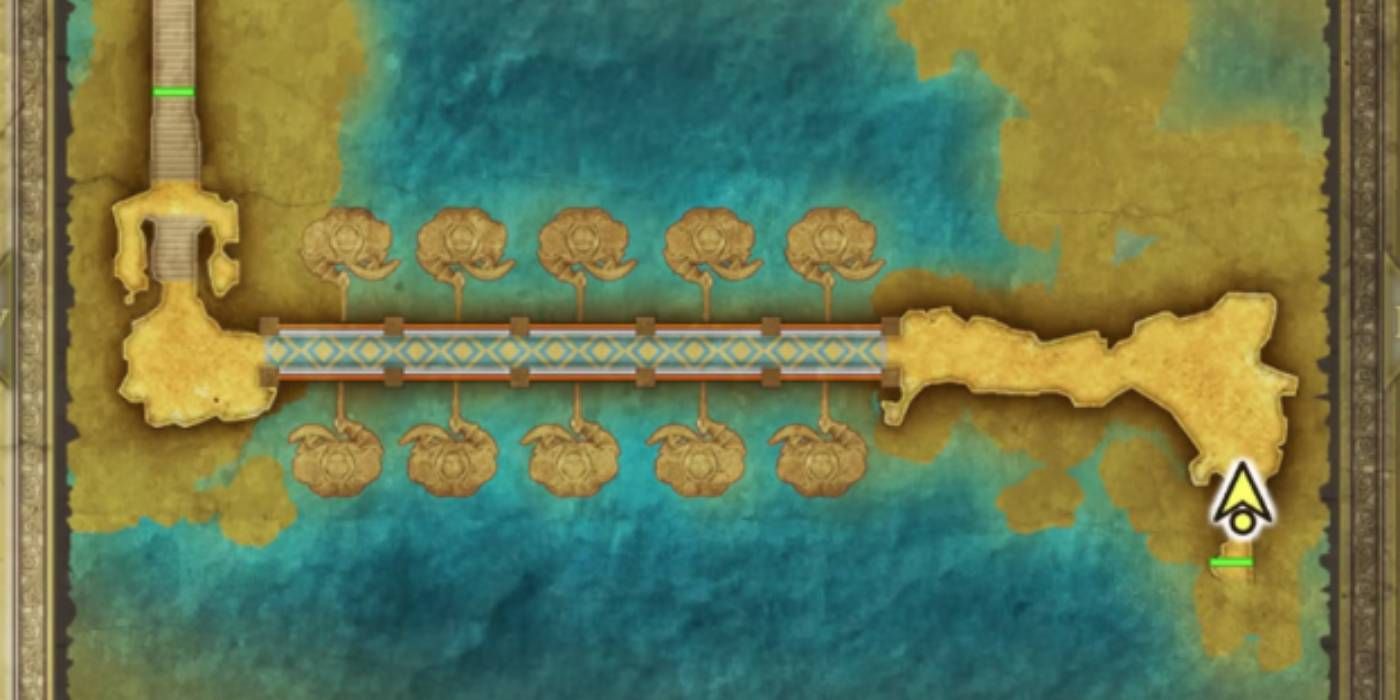
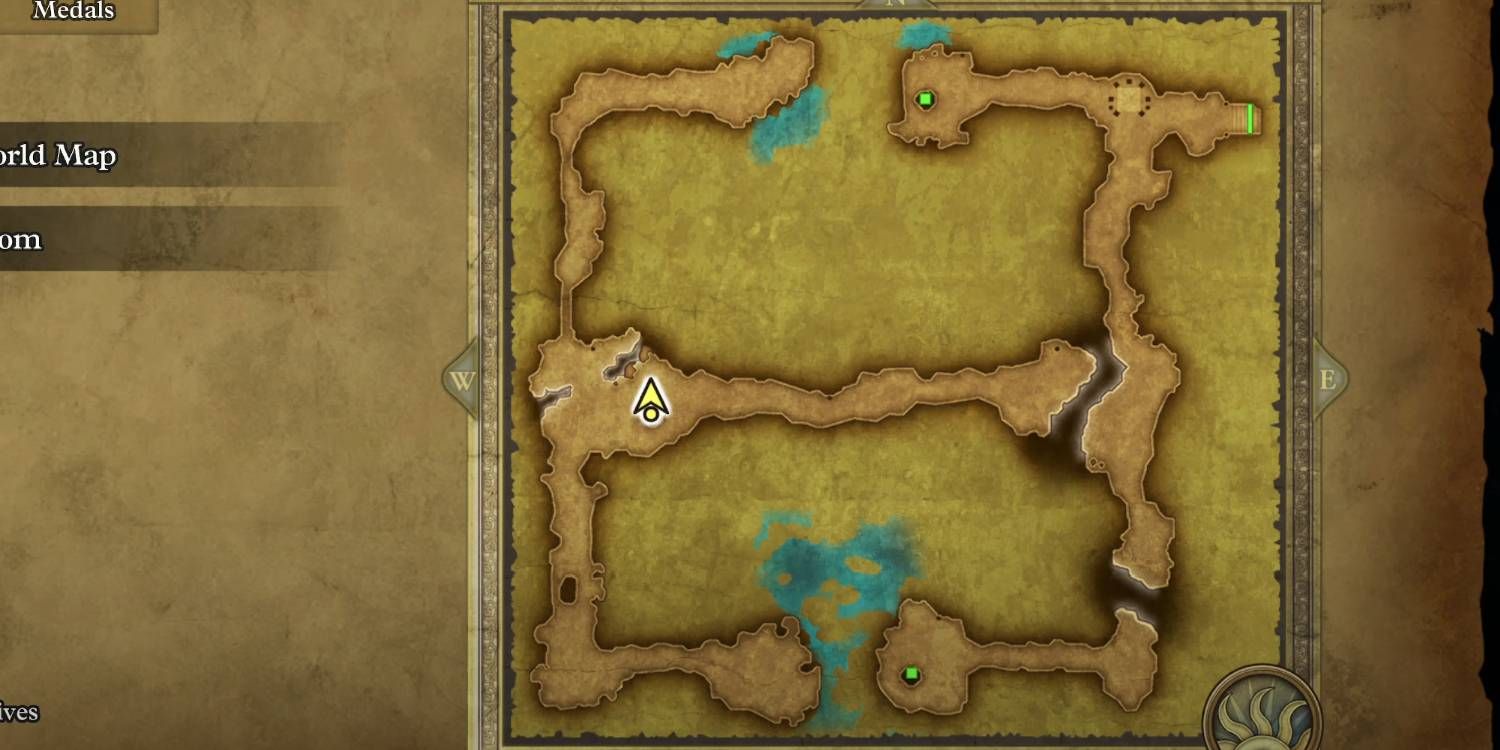
B1
Simply walk to the left across the span with huge statue , then go up the stairs at the end of the way .
L1
Turn left from this base ’s entrance andhead in the south , then go along following this path to the left wing . Keep go in this direction until you come across the 2d route that snuff it to the south again . Take this path to reach the level ’s outlet .
L2 ( 1 )
Do n’t be fooled by the earlier exit to the east on this floor . Just head to the south until you get to a larger room , then head due east and up north to this section ’s loss .
L2 ( 2 )
Simply move around east until you reach the destruction of this linear path .
L2 ( 3 )
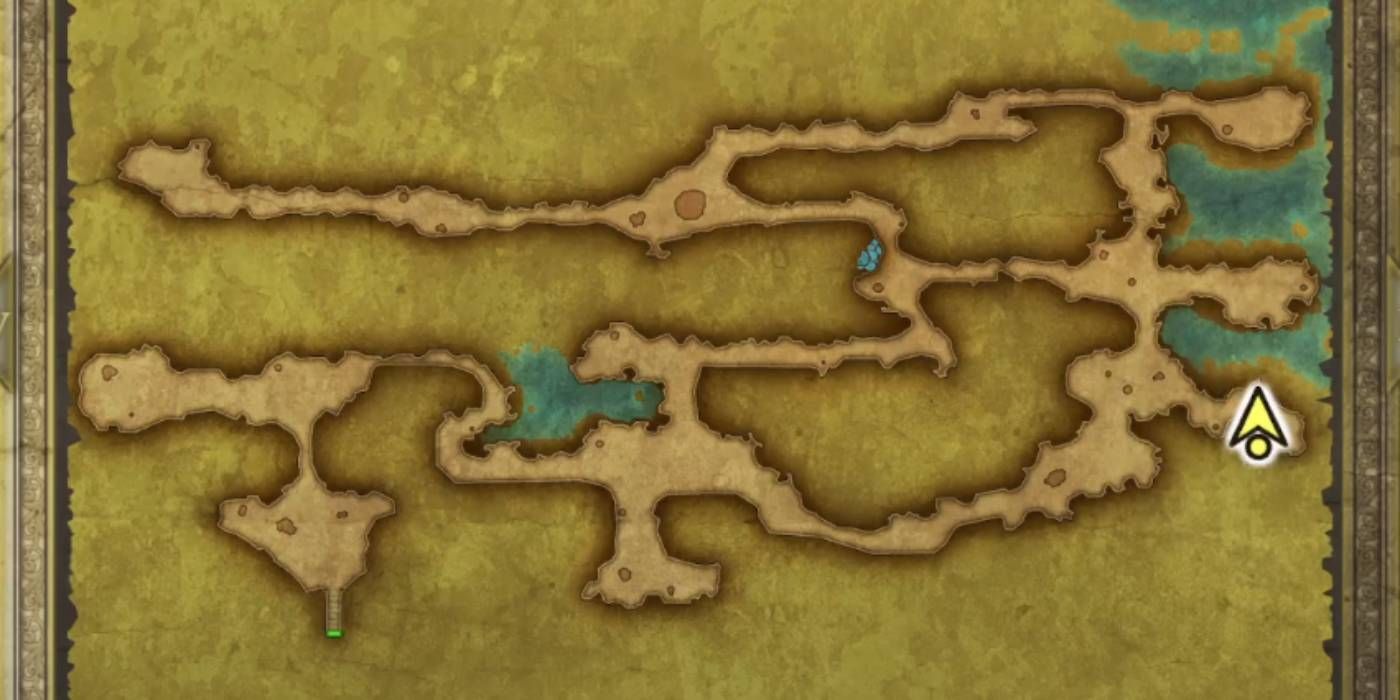
In this prominent area , take the northern ladder instead of the southerly one , as only one leads the way back into trading floor L3 after you drop into this space .
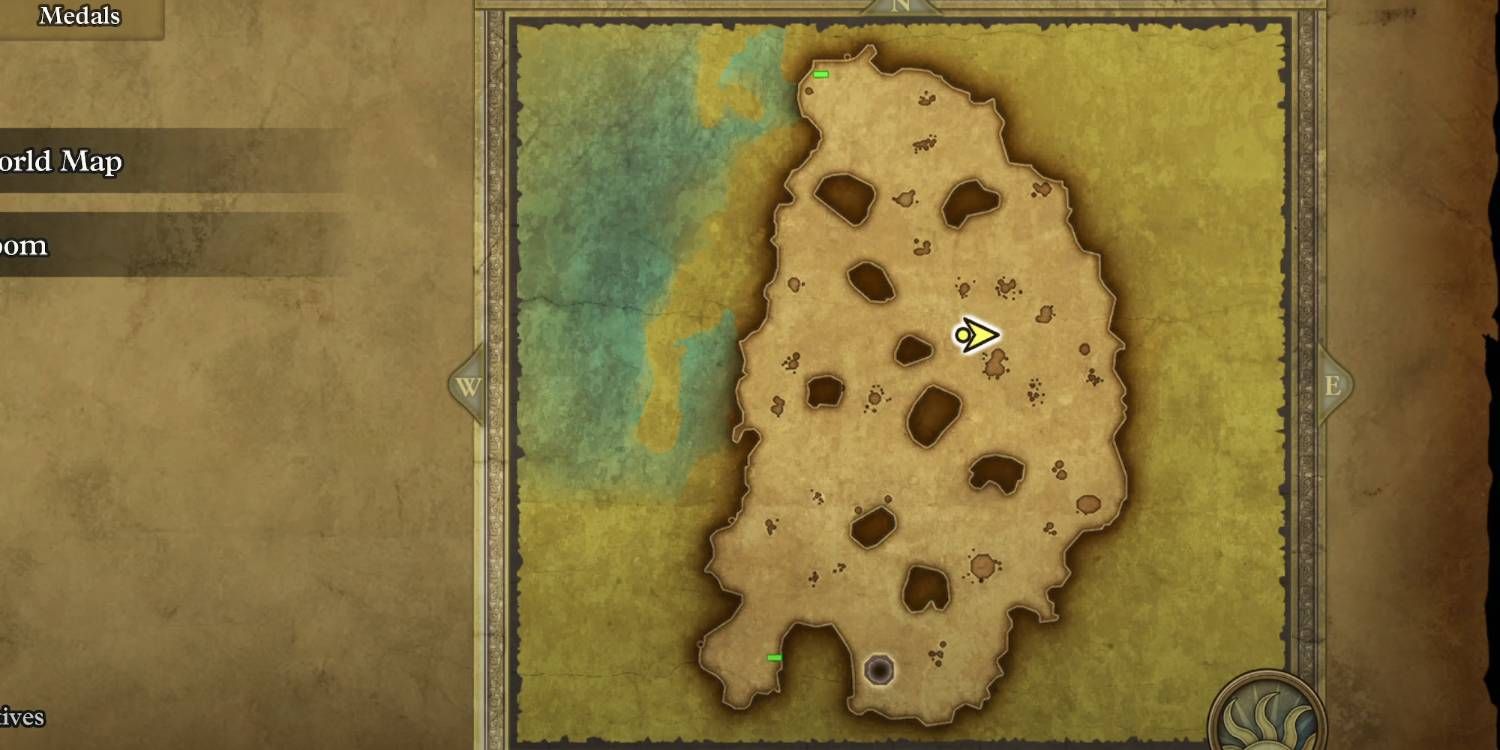
L3
When you accomplish here from flooring L2 ( 1 ) , take the air off the ledge to your right to enter floor L2 ( 3 ) . From there , you could climb up into the northeasterly corner of the elbow room , where you could take the air east past a shrine to move on .
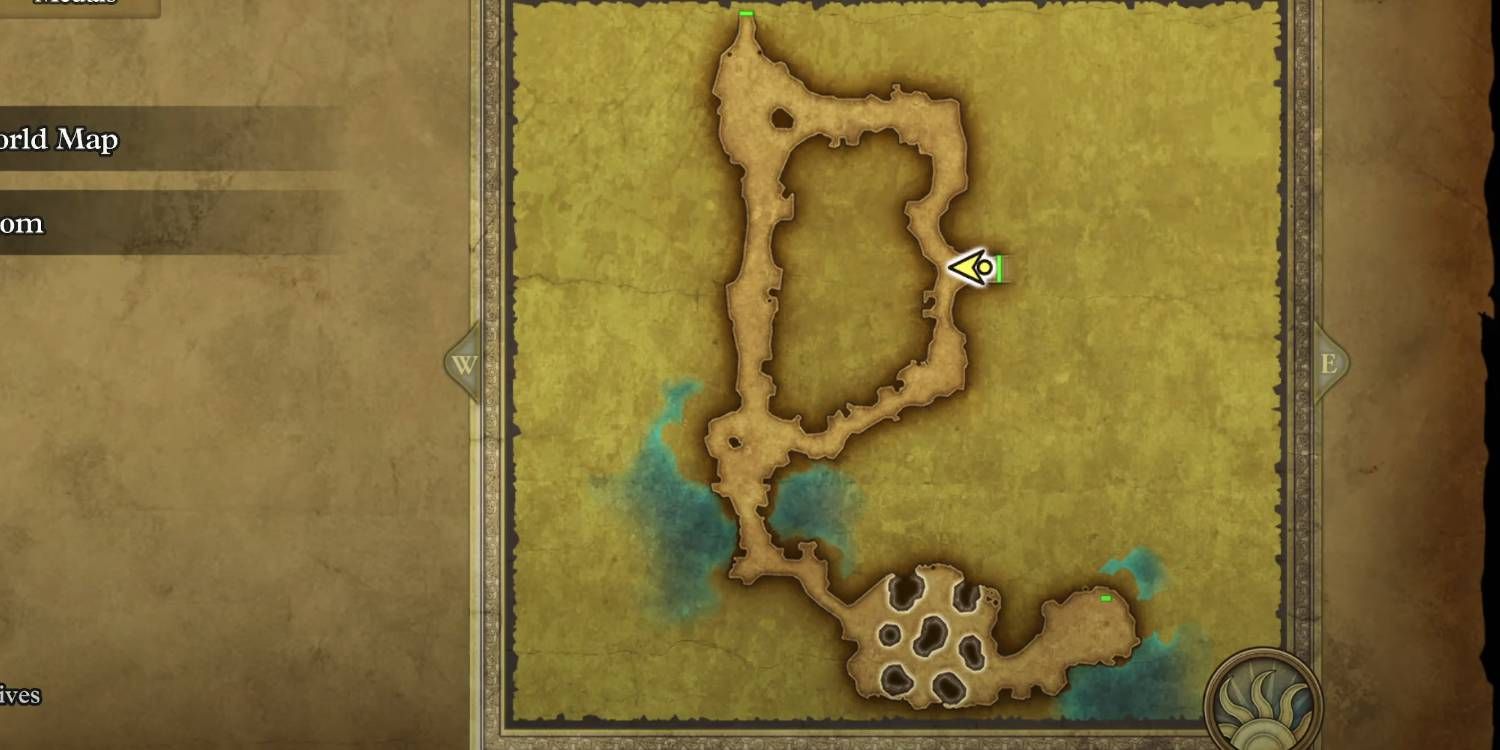
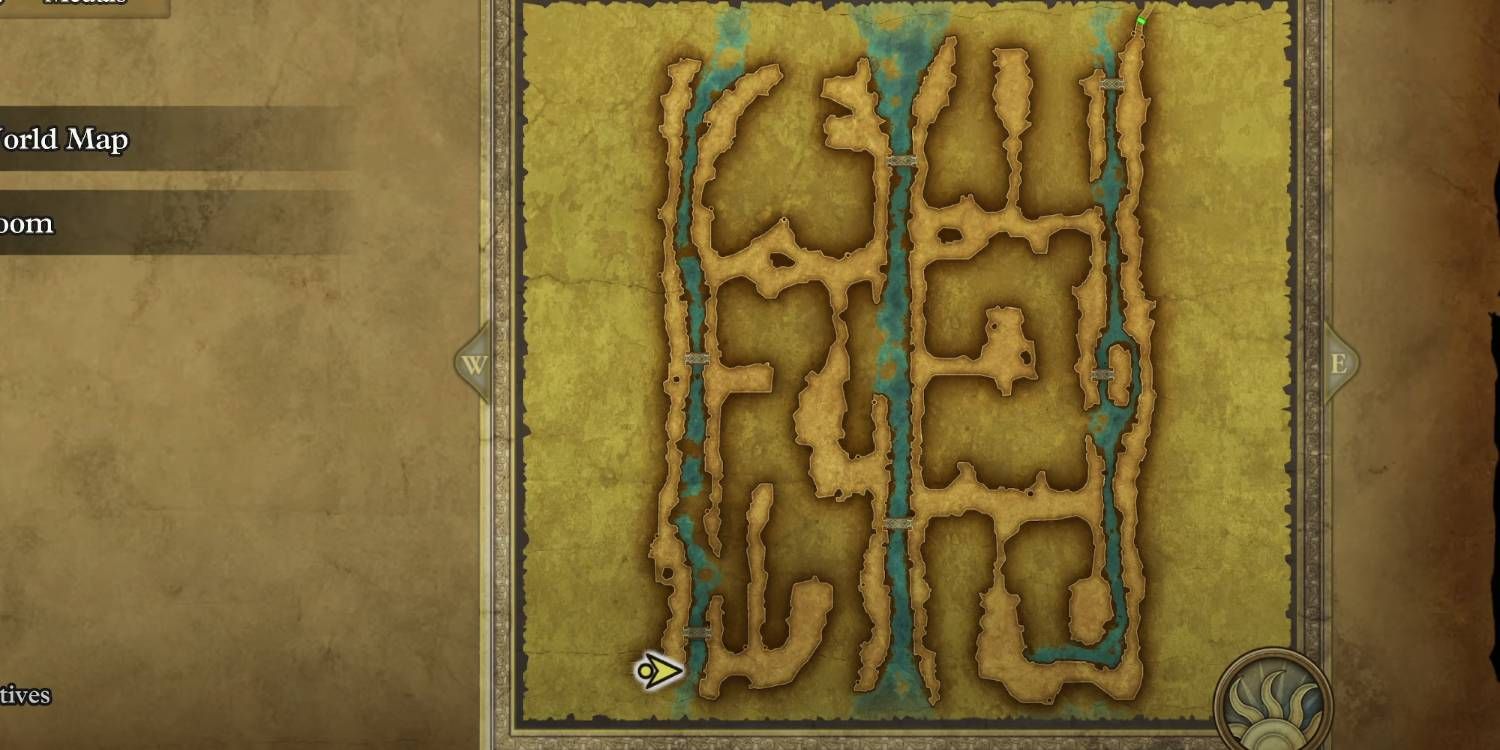
L4
Starting from the southwestern edge of this trading floor , go north to the second bridge deck on this way . move around across it , then go northerly again and east once you see a route in that direction . Head south from this path until you could walk along another bridge . Travel along the first easterly path here , then take the first path south that you’re able to . The follow track wrick north , perish straight up to the exit of this trading floor .
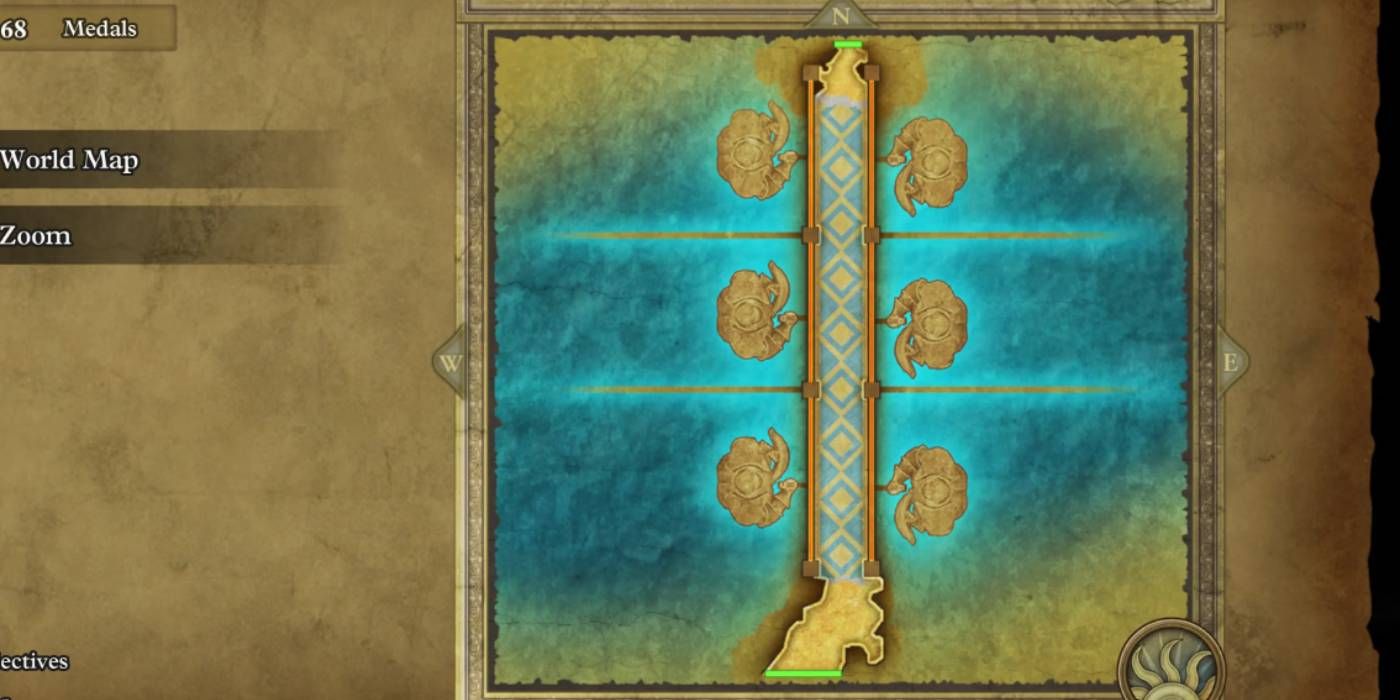
L5
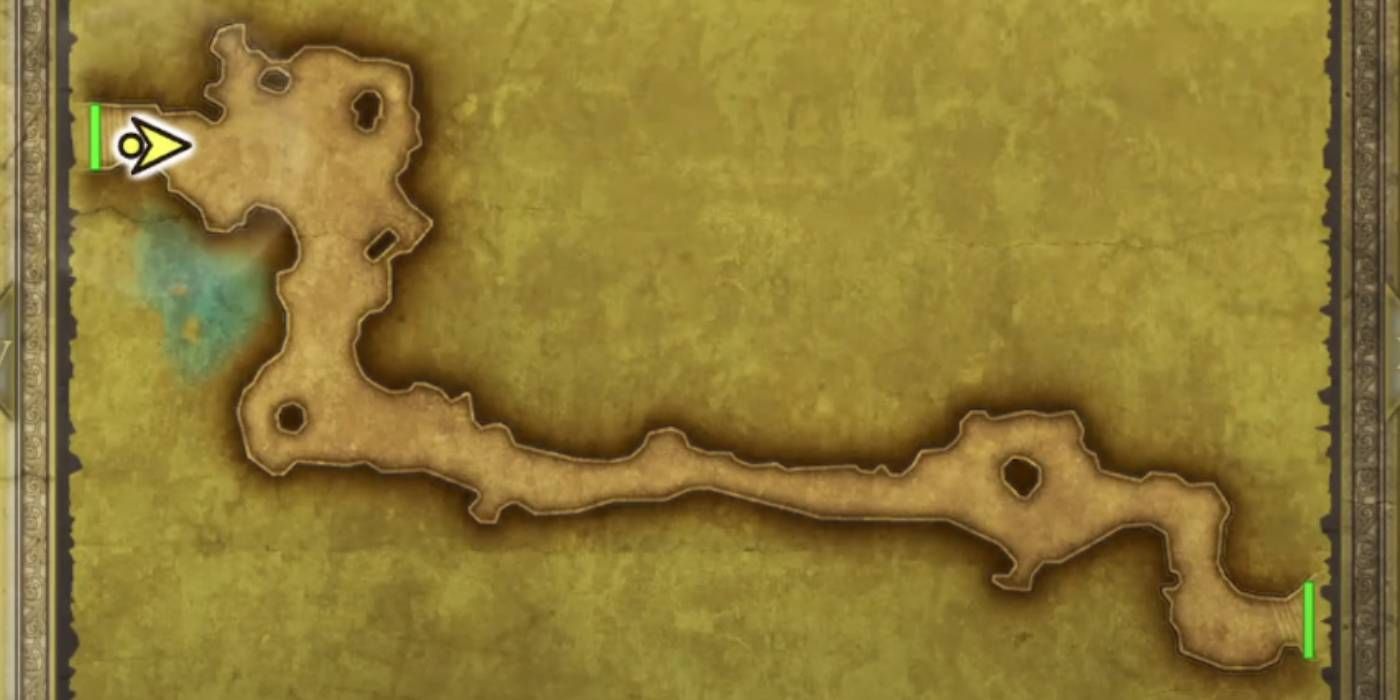
take the air north across the bridge circuit with statues flanking it , in the same way as you cleared trading floor B1 , to expire the dungeon .
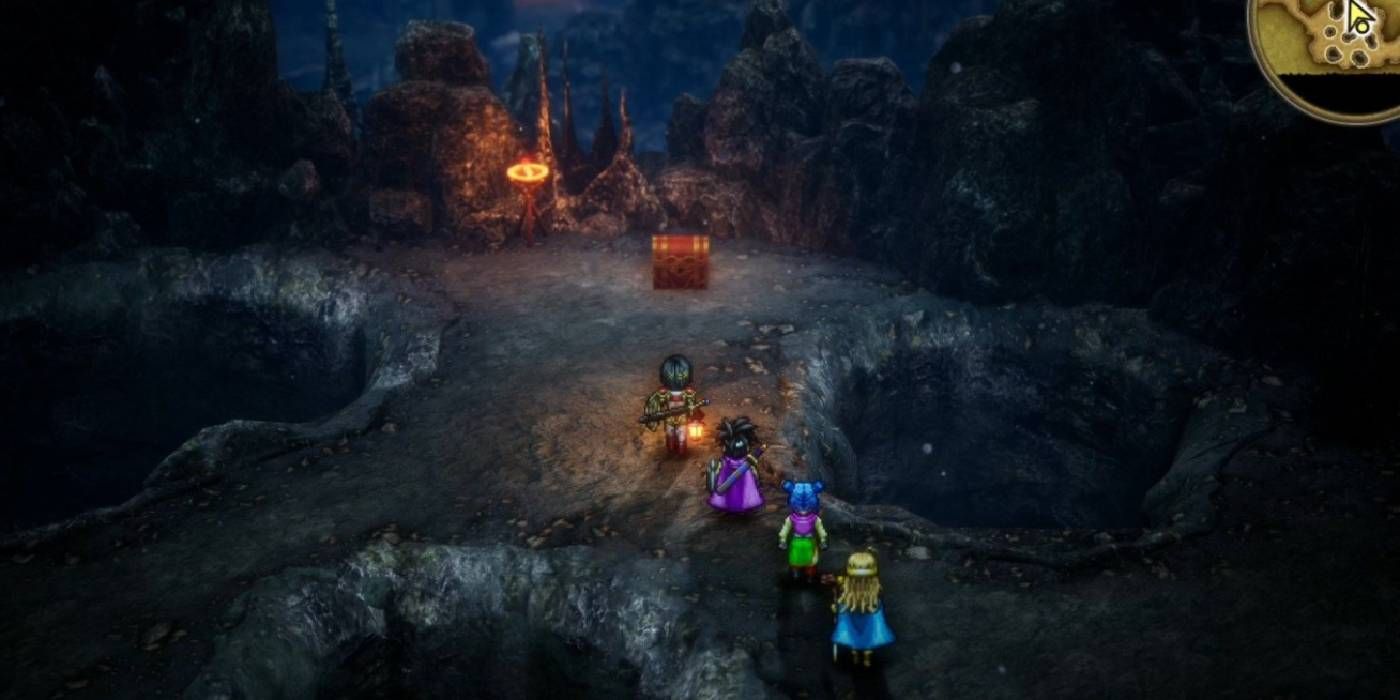
Getting through every floor of the Maw of the Necrogond will see your party come back out into the macrocosm , where the castle of the final boss Baramos can be project on an island forward . Go to the east to turn over the Necrogond Shrine , an area where your team can heal . This is also the place where you get the Silver Orb , the last relic you require in a very long quest related to gathering orb around the world .
All Items Locations In Maw of The Necrogond Dungeon
Search The Dungeon’s Optional Spots For Treasure
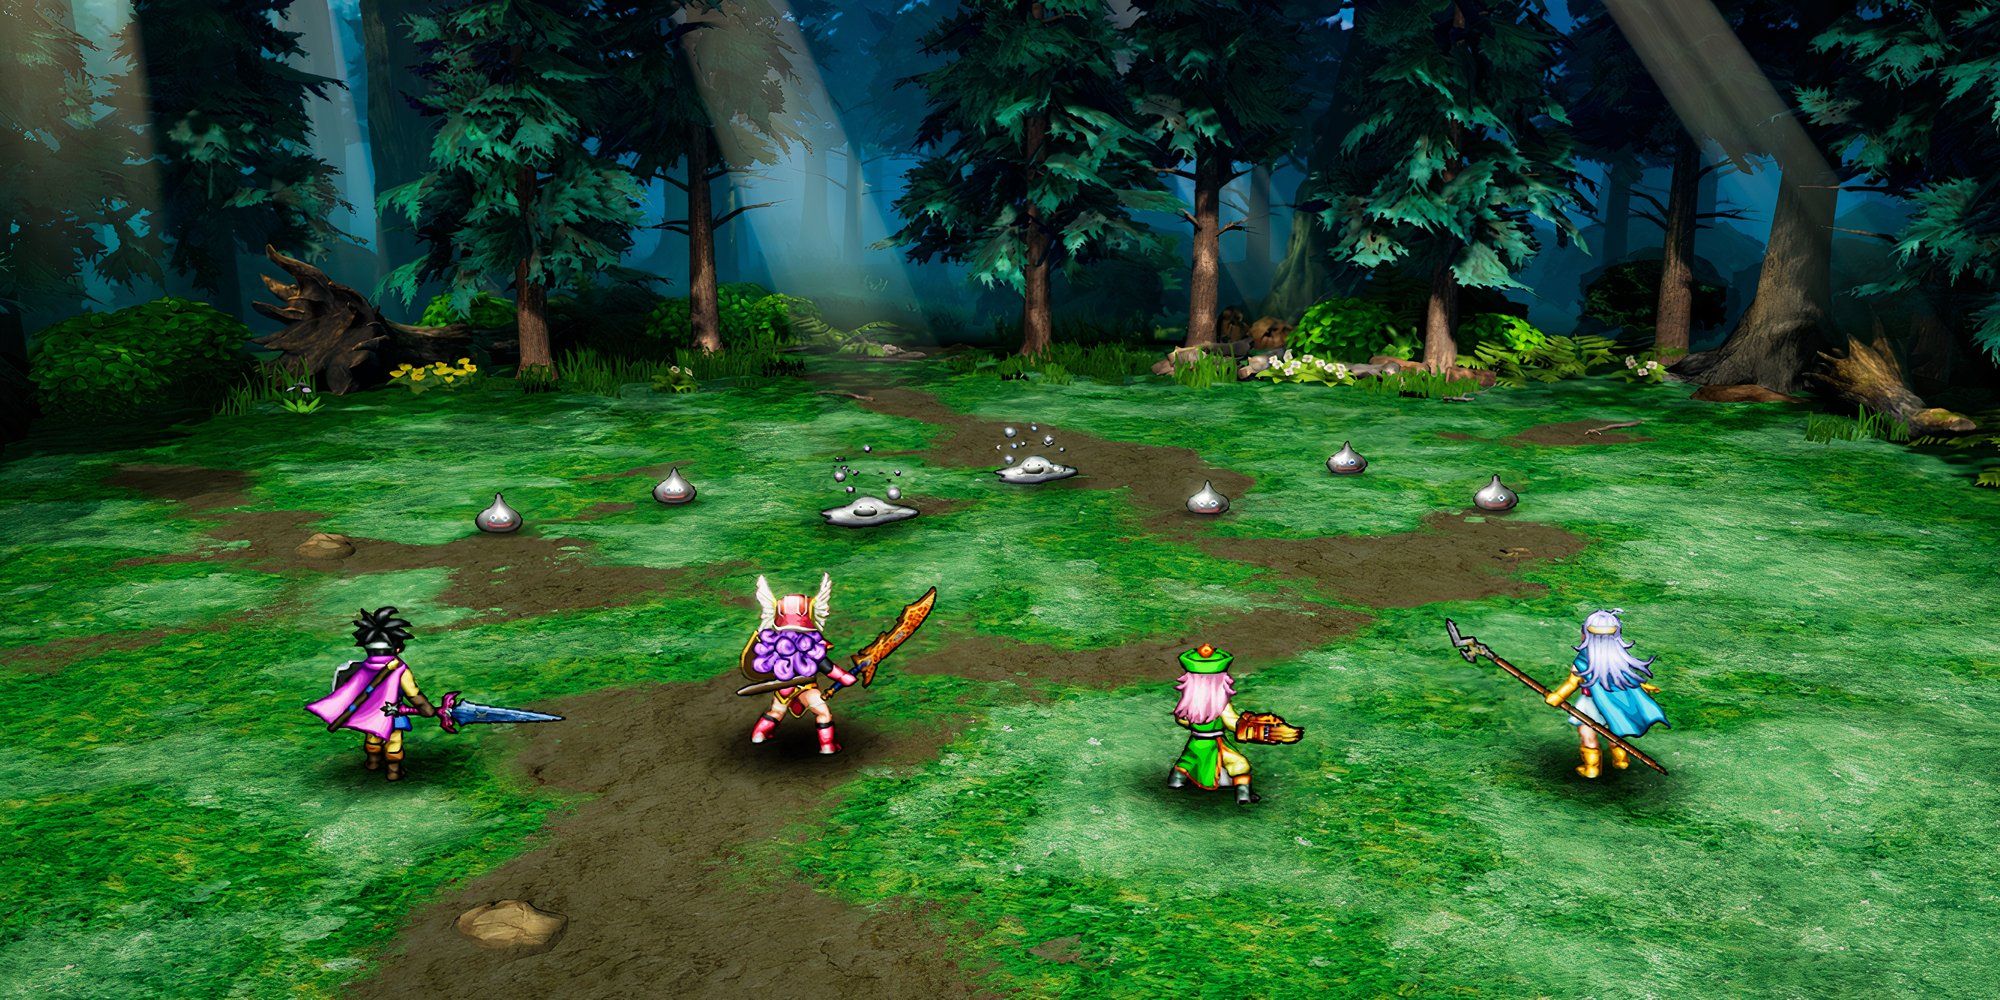
Once you line up the Necrogond Shrine , you’re able to well return to the Maw of the Necrogond to explore it again for gem you may have miss . Although there are no key detail here , there is plenty ofequipment inDQ3 Remakeyou’re able to grab here to pop out groom against Baramos . One of the good Metal Slime farm is also within this dungeon , making it a great place to aid your secure party members dig for supererogatory XP .
In Dragon Quest 3 HD-2D Remake , farming Metal Slimes is the best way to increase your party ’s experiences , peculiarly with this post before Baramos .
In the table below are all the special items you may get in the Maw of the Necrogond , and where to find them :
Item
Floor Location
Where / How To Find
Sage ’s philosophers' stone
From the level entering , go northwards , then take the first path Occident . Keep follow this path west until you reach its oddment , where the point can be found .
Thunderbolt Blade
On the way to L2 , in a small northern plane section of the caves above a body of water in the southwest part of the floor .
Full Moon Ring
In the upper northeastern turning point of the floor , in the 2nd alcove north of where you enter the area .
Spiked Armor
Within a diminished area to the west of the path south leading out of storey L1 .
Angel ’s Bell
In the room with many holes lead back to floor L1 .
Mimic ( Monster )
To the northeastern United States mask itself as a chest that ’s visible from the moment you enroll this space .
Troll ( Friendly Monster )
Along the path to reach floor L3 . Make certain to employ an item , spell , or the Monster Wrangler class ' ability to prevent this monster from fleeing .
Mythril Helm
Climb the southern ladder on floor L2 ( 3 ) instead of the northern one . This will lead to a secluded spot on floor L3 with this detail .
3,024 coin
When entering floor L3 , point northward to reach a treasure breast with this money inside it .
Death ( Friendly Monster )
When recruit floor L3 , head south to progress to thisfriendly monster you could recruit .
Magical gown
Across the first bridgework east you see going northerly on floor L4 . The bureau containing this item is along a narrow northern path .
Magic Shield
At the northwest recess of the L4 mapping , on a way of life north past both bridge circuit .
Magic Water
On the southerly path leading to the lower bridge circuit in the centre of floor L4 .
Across the upper nosepiece in the meat of trading floor L4 , in an bay directly south from the nosepiece after you cross it .
Yggdrasil Leaf
Take the central upper span of L4 , then take the first path east . Go through the narrow-minded northerly tunnel along this route to line up the chest with this item .
think Cap
From the eastern path where you get hold the Yggdrasil Leaf , keep going until you’re able to go south . Take this path , then pass over the bridge deck at its end to incur a smaller alcove with the chest incorporate this item .
Every field in this dungeon is dangerous , so be deliberate even when you have the Necrogond Shrine to travel back to when exploring . Those who discover all the items and secret in the Maw of the Necrogond inDragon Quest 3 HD-2D Remakewill be reward for their endeavour with not bad items that can help them complete the story ’s final chapter .
Your Rating
Your comment has not been save


